Stick It Right with UV Stickers
VersatileApplication
Double Sided Printing
Precise Cut-Outs
Full Colour Printing
Versatile Application
Double Sided Printing
Precise Cut-Outs
Full Colour Printing
What You’ll Need to Get Started:
- Hard Surface Merchandise
- Non-Woven or Microfiber Coth
- Silicon Cup Holder (optional)
- Squeegee (optional)
Note:
These tools are only used for UV Sticker, DTF transfers are done with either Hot Peel or Cold Peel.
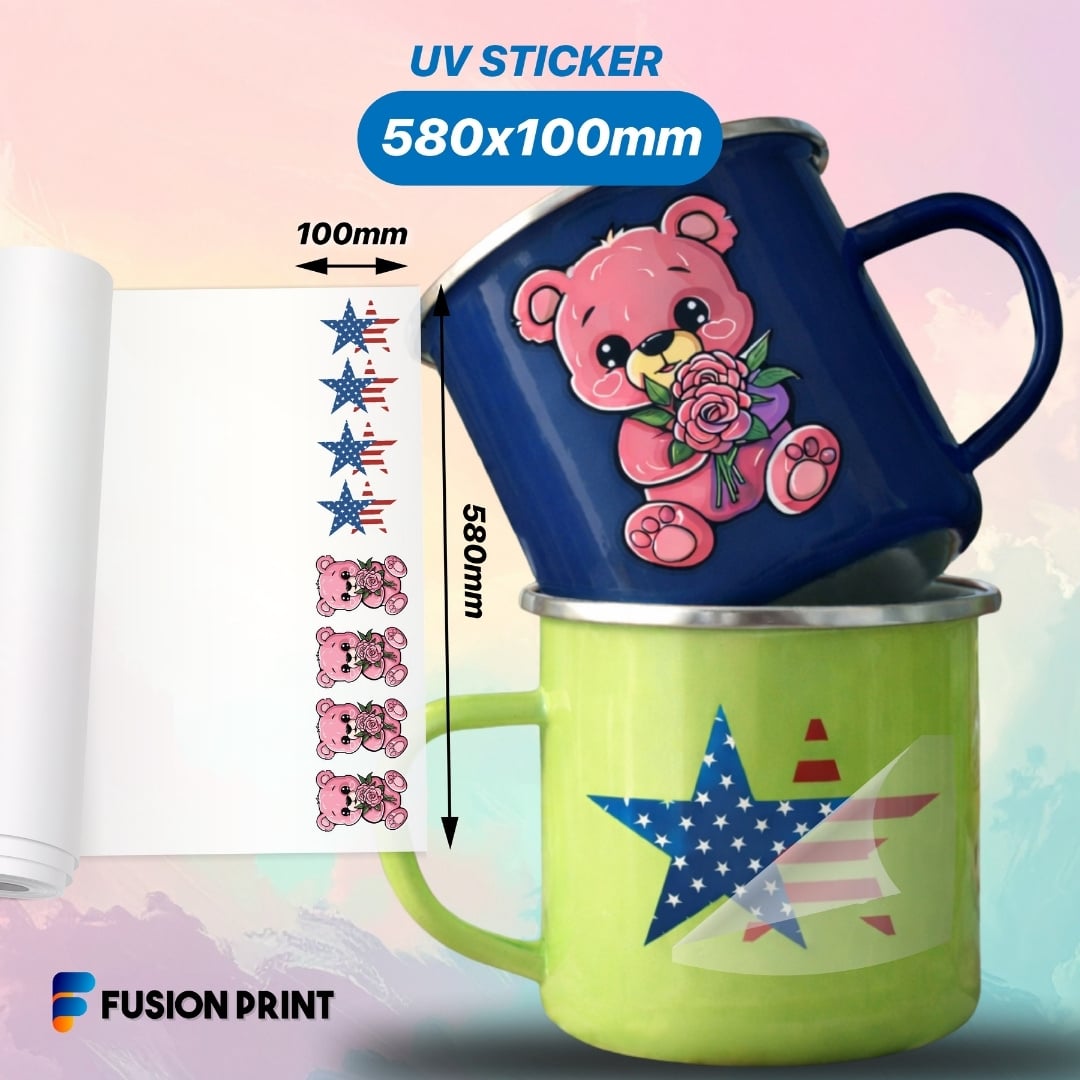
Decide sticker location on your hard surface item
Decide on the final placement of the artwork on your item.
Safety Tip:
Do not peel the safety white backing film while you decide its final location.
Wipe the selected surface area with a clean cloth
Using a non-woven cloth, wipe the item’s surface area to remove any dust or small particles before applying the transparent layer.
Pro Tip: Microfiber cloths can be use as well.
Peel off the UV Sticker design from the safety white backing film
Remove the artwork on the transparent sticker layer from the white backing layer.
Stick the transparent layer unto your desired hard surface item.
With the safety white backing film out of your way, be extra careful and proceed to stick the transparent sticker with artwork onto your chosen location on your hard surface item.
Warning: Repositioning can reduce adhesive effectiveness.
Apply pressure to the artwork to flatten the artwork onto the surface.
Apply pressure to the transparent sticker and artwork, ensure it sticks to the evenly to the material.
Pro Tip: Use a squeegee to ensure no air bubbles appear on its surface.
Peel off the transparent layer without artwork
Peel off the transparent layer in a single motion. Your artwork will remain intact on the hard surface item as you remove the sticky transparent layer.